Monday, July 18, 2011

Father's Day 2011

(I'm only slightly behind in posting my projects)

For Father's Day this year, since it is Justin's first as a father, I wanted to make something for his desk at work that would be a reminder of what a wonderful father he is.

I used a block of wood that I had in my craft box, painted it, cut out a phrase in vinyl that I made using my Silhouette (LOVE that machine!), and added a picture of our adorable boy to complete the project.


(I used some stamping ink to distress the edges of the block once I sanded away the paint)


Now he has a great "manly" picture frame for his desk at work. And he can even change out the picture as Boston gets older and as we add to our family.

Tuesday, June 14, 2011

Embroidery

One of my good high school friends got married recently. We are a little tight on cash, so I decided to make something with things I had on hand. I've recently decided that I wanted to get into doing some embroidery, and this is my first attempt at an embroidered picture.


And here it is framed.


The frame ended up not working quite as well with the picture, but it is what I had on hand... Hopefully they'll like it. I know it is something I would hang in my home, I'm just hoping they'll feel the same way :)

Monday, May 30, 2011

Flowers

These are actually from last summer, but I thought I should document them.

A sweet couple who live in our ward had a daughter and a son get married here last summer. They asked me to make some hair bows for their grandchildren that would match the dresses for the two wedding parties. I was thrilled. I really haven't done a lot of hair flowers, but I have enjoyed trying out different styles and seeing what works.

These are the two I was able to come up with:


There were actually two little girls that needed flowers for their hair, so I made two of each kind. The family loved the flowers, and I was excited to be able to help out. I had a lot of fun making them, and look forward to being able to hopefully make some for my own little girl some day. But for now, I am perfectly content making ties and other boy things :)

Tuesday, March 29, 2011

Valentine's Table Runner

This is the first big craft project I was able to complete since Boston joined our family. I didn't have any Valentine's decorations, and I wanted something simple and not over bearing. I saw this table runner on Moda Bakeshop, and decided that I wanted to make it using hearts.
Here is the final product!
A close-up of a few of the hearts:
I had all the fabric on hand as well as the batting. I was able to get rid of a lot of the scraps of batting left over from my rag quilt. I liked using some non-traditional colors as well as the pinks and reds. It turned out cute, and was a lot of fun!

Thursday, September 9, 2010

A soon-to-be new mother with too much time on her hands...

I have been so excited about having our first baby. As soon as I found out we were going to be having a baby I was making lists of things that I wanted to make for him. I may have been a little over-ambitious, but I have successfully made everything I wanted to make before he got here.

I wanted to put everything I made for Baby Boston in one blog post (I've posted all of this on my other blog) so that I could remember it. I also will provide the links to any tutorials I used where applicable.

The first project (and the one that took the longest to complete) was this wonderful quilt


I found this tutorial on the Moda Bake Shop and I just knew that it was the quilt I wanted to make. I decided to make it out of flannel because I wanted it to be extra snuggly. I have never quilted anything in my life before, but after watching this video I felt like I could do a stipple pattern using my machine.


Once I got all the right tools on my machine, the quilting went very quickly. I got stuck when my thread would continually break, and I was a little afraid that I wouldn't be able to get it finished before this little man made his appearance. However, with a new needle, some lubrication and a lot more patience, I was able to finish the quilt and I think it is just beautiful. I can't wait to wrap our baby in it!

When I finished this quilt, I pretty much swore off quilting...but now that it has been a few weeks, I find that I want to try quilting again...We'll see :)

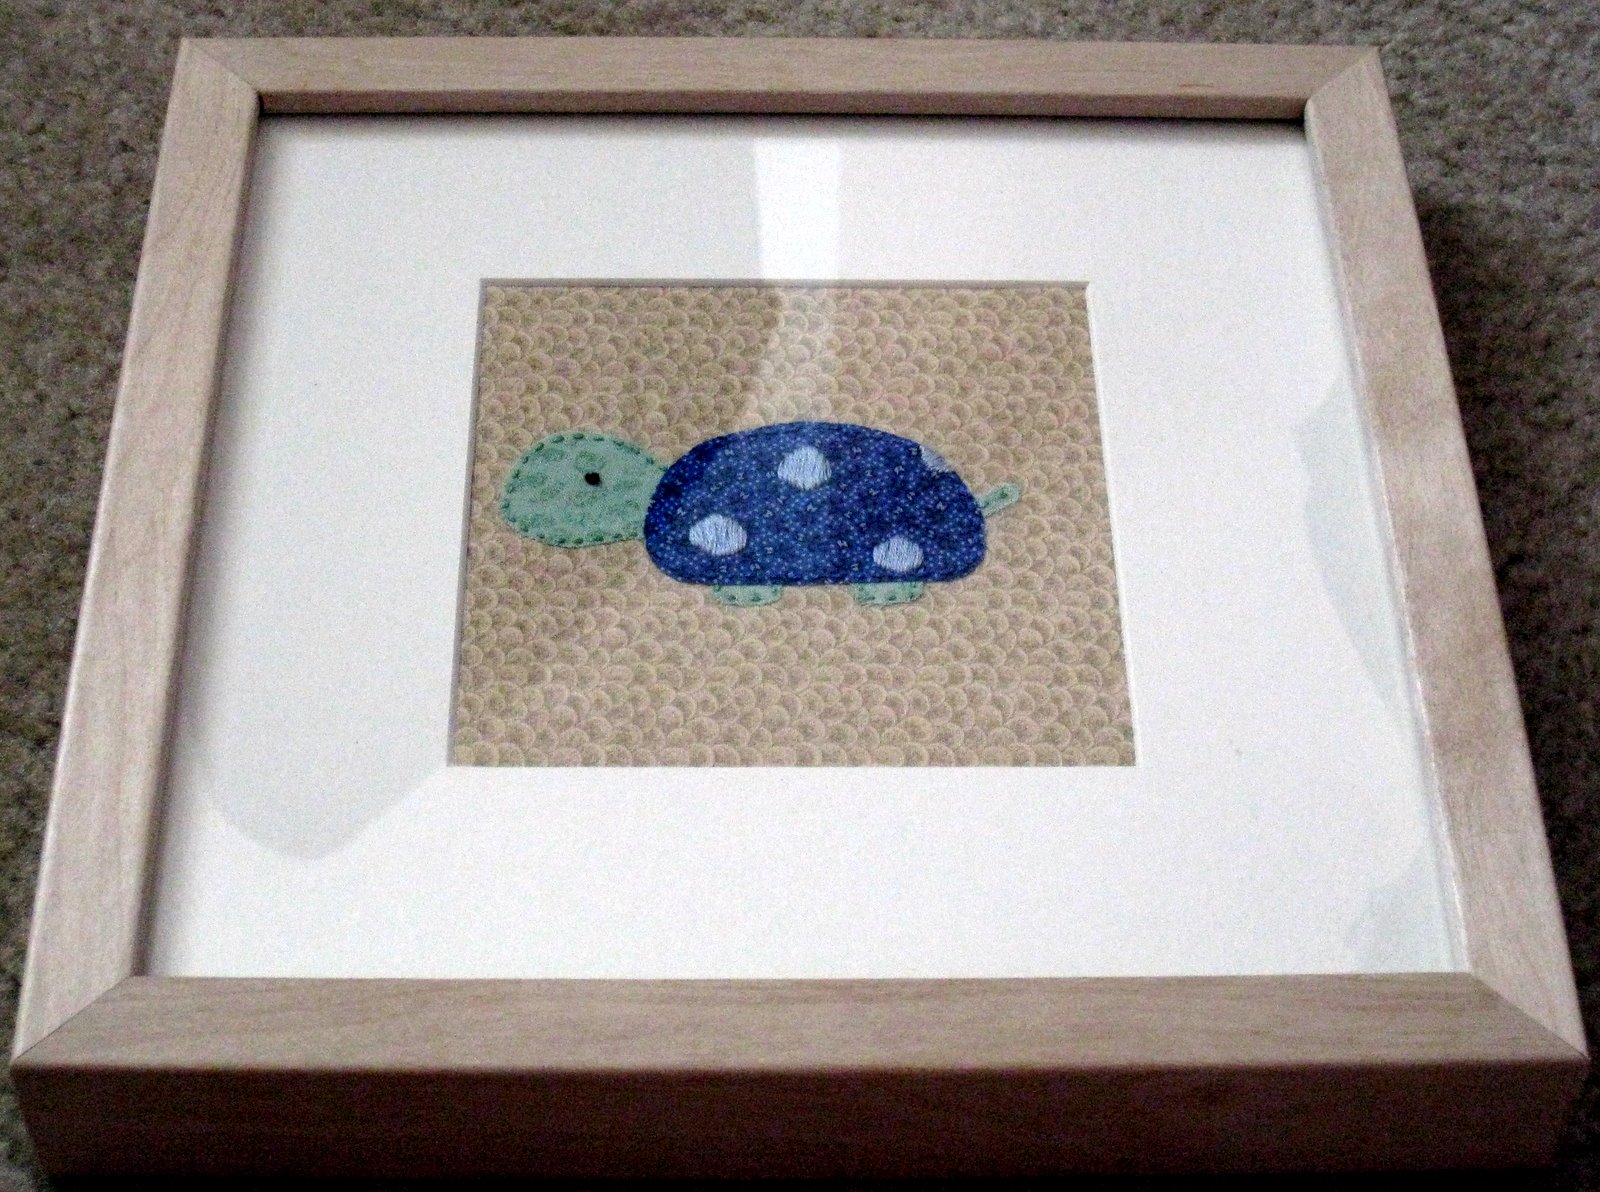
The next project is some artwork for the walls in Boston's nursery. I created these animals based on a blanket that I purchased several years ago while I worked at Kohl's. I bought it knowing that I wanted to use it for my future children, and I love that I was able to use the cute animals as inspiration.


Each animal is made of fabric with stitching added using embroidery floss. I bought the frames from IKEA, and made each animal to fit. I used Wonder Under to attach each animal to the fabric backing, and then decorated them accordingly.


All three pictures lined up, waiting to be hung.

The next project is one of my favorite gifts to make for friends who are having babies.


Hooray for burp cloths! I know, it is kind of a boring craft, but I can't tell you how excited I was to make them for myself. When I first started making these I used this tutorial to learn how, but have since made my own adjustments that work for me.

This next project was inspired by this tutorial, I just wanted to make it a boy specific theme. I also wanted something that we would be able to hang on our door to announce to the world (OK, maybe just our apartment building - in case the screaming child wasn't a clue enough...) that we had welcomed our baby boy into the world.


It was super fun and easy to make - even though I had to cut out all the stars by hand. It really did not take long to make, and I love the final look.

This final project is something for which I did not use a tutorial. I decided that I wanted to make a mobile using the same animals I used for the art in Boston's room, as well as a few others from the blanket.


(I haven't officially set the animals, so the ribbon is kind of sitting funny - but I was just so excited to get them in the hoops)

Each animal is made of just the cheap-o felt you can buy at JoAnn's or Michael's. I used my sewing machine to stitch them up leaving a hole to add the stuffing and ribbon. Once they were stuffed, I finished the stitching with the machine, adding the ribbon from which they are hanging.

Here is a close-up of each animal.


(I think he is my favorite)


I found the ribbon at Michael's in the dollar bin that sits outside their front door. It could not have been more perfect! In case you can't tell, it is felt ribbon with white stitching on either side of it. I think it gives the mobile a perfect look.

That is just about everything I have made for his nursery. I have embellished a few onesies for him to wear, but didn't feel like posting pictures of each of those. In any case, I was able to get everything made that I wanted to, now we are just waiting on this baby!

Tuesday, July 13, 2010

Need to craft!

These last few weeks have been full of excitement and fun. But, it has meant that I have had little, to no time to be making anything. I finally sat down yesterday and today and gave myself a few hours to just make something - anything!

The first thing I made was this headband:


It is probably a little difficult to see in the picture but each rose is made of felt. I used a technique I have been seeing on several different craft blogs that I have wanted to try that involve cutting a circle of felt into a spiral and rolling it up. It was super easy - and I love how it turned out.

The next thing I made was this pair of earrings:


They are made of fabric rosettes and I think they turned out pretty cute. I like the rosette trend that is going on right now, and thought I ought to try it as a pair of earrings.

I also made another felt rose and added some elastic to the bottom of it to turn it into a ring. I tried it with two colors of felt, and I really like the way it turned out.


This last pair of earrings I actually made a few weeks ago:


They are one solid piece of wire and I just LOVE the way they look in my ears. They are extremely cool, and I want to make some more using some different beads. They were also pretty simple to make, which is always a bonus.

I must say I am feeling much better after taking some time out of the busy schedule over the last two weeks to make a few things. It's amazing how theraputic making things with your hands can be.

Tomorrow I plan on starting the quilting of Boston's quilt...wish me luck!
Posted by Picasa

Wednesday, June 23, 2010

Simply Charming

I have made a couple new necklace charms recently and have been overall pleased with how they have turned out:


I've seen a few "bird's nests" out there in creative jewelry land, and I really like the look. I am not necessarily thrilled with this first attempt, but I know exactly what I would change when/if I make another. I went ahead and put three eggs in there - one for me, one for Justin, and one for baby Boston who will be here before we know it!


My other new charm I made was a treble clef. This was an idea that struck me in the middle of the night, and I woke up the next morning and immediately pulled out my silver to make it. After I hammered the silver and got it into the shape of the clef, I realized the stem (the straight part in the back) wasn't going to sit the way I wanted it to without some help.

So, while I pondered how to overcome the problem, the charm sat for about 3 weeks. I finally figured out how to fix the problem, and I just love the look.

That's it for now. I think I am going to start making some more jewelry - I've definitely been missing it.
Posted by Picasa